April 8, 2026
Shopify Product Photography on a Budget
You launched a Shopify store. You have products. Now you need photos that don't look like they were taken in your garage — but you also don't have $2,000 to blow on a photographer.
Here's the honest breakdown of what Shopify product photography actually costs, and where to spend (and save) your money.
The Real Cost of Shopify Product Photography
Let's put actual numbers on the three main approaches.
Option 1: Professional Studio
- Studio rental: $100-$300/hour (most cities)
- Photographer: $150-$500/hour
- Styling and props: $50-$200
- Retouching: $5-$25 per image
- Turnaround: 1-3 weeks
For a 20-product shoot with 4 images each (80 photos total), you're looking at $1,500-$4,000+. The results are great. The price tag isn't.
Option 2: Full DIY
- Phone camera: $0 (you already have one)
- Poster board + tape: $5
- Desk lamp with daylight bulb: $15
- Free editing app: $0
- Your time: 2-4 hours for 20 products
Total out-of-pocket: under $20. But the results depend entirely on your skill. And your time has a cost too — those hours could go toward marketing, customer service, or sourcing new products.
We wrote a full walkthrough on the DIY approach in our phone photography guide if you want to go this route.
Option 3: AI-Powered Photography
- Take basic photos yourself: $0 (phone + natural light)
- AI scene generation: varies by tool
With Flyshot's pricing, the math works out to roughly $0.30-$0.70 per finished lifestyle image depending on your plan. For that same 80-image catalog: $24-$56. And you get the images in minutes, not weeks.
What Shopify Actually Needs From Your Photos
Before you spend anything, know what you're optimizing for. Shopify product pages perform best with:
- Main image on white — clean, no distractions. This is what shows in collection pages and search results.
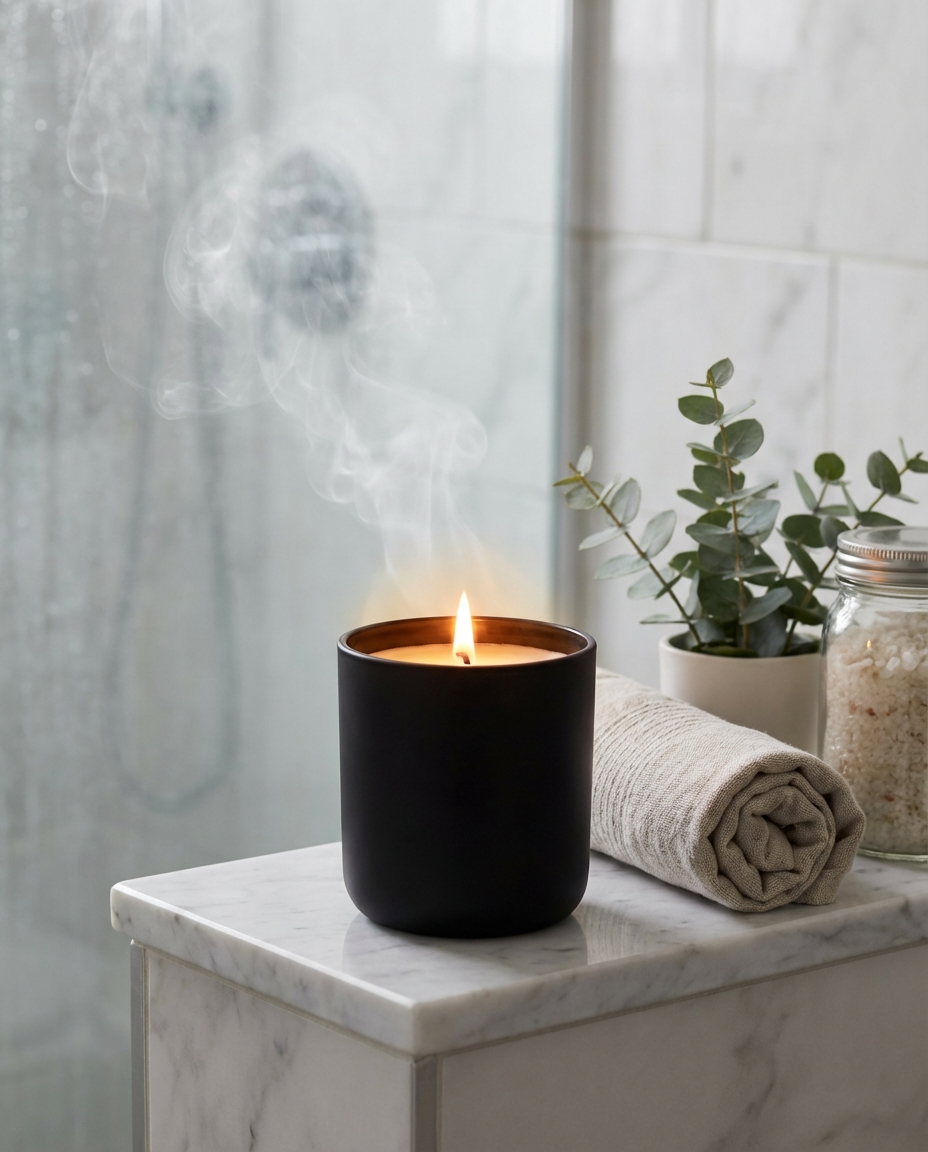
- 2-3 lifestyle shots — product in context. On a desk, in a hand, styled on a shelf. These sell the feeling.
- Detail shots — texture, labels, size reference.
- Consistent style — your whole catalog should look like it belongs together. Style presets and a product catalog make this easy to maintain at scale.
Most Shopify sellers nail #1 and #3 with DIY. It's #2 — lifestyle shots — where things get expensive. Styling a scene, getting the lighting right, making it look editorial? That's what photographers charge for.
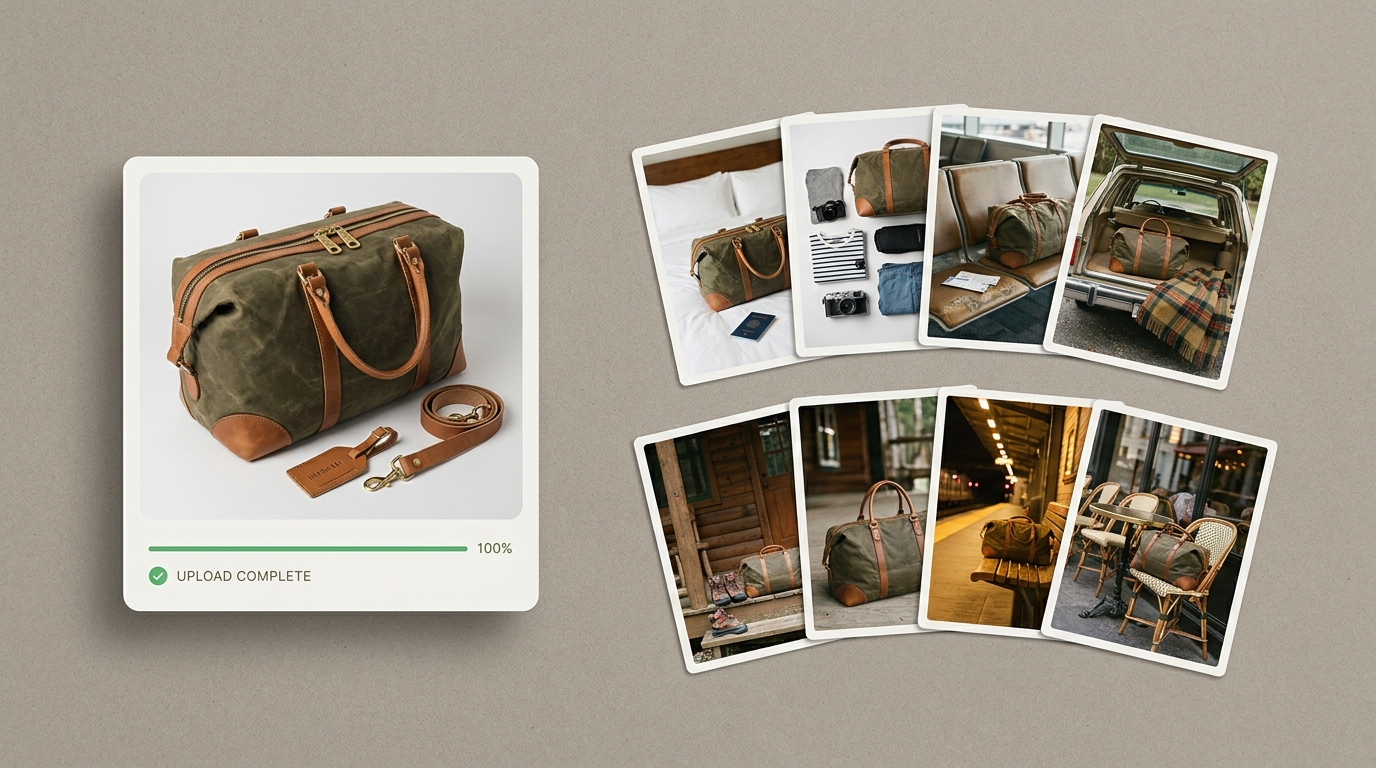
That's also exactly what AI tools are best at. Flyshot's AI scene generation turns a single product photo into editorial-quality lifestyle imagery in seconds.
Budget-Friendly Shopify Photography Workflow
Here's the workflow I'd recommend for sellers watching their budget:
Step 1: Shoot the Basics Yourself
Use your phone. Natural window light. White background. Get clean, well-lit shots of every product from 3-4 angles. This costs you nothing but time, and the phone photography guide covers the technique.
Step 2: Use AI for Lifestyle Scenes
Take your best product photo and run it through Flyshot's studio. The AI removes the background automatically (no separate step needed — see how background removal works) and generates a styled scene around your product.
Pick a vibe that matches your brand. Get back a 4K image ready to upload to Shopify.
Step 3: Be Strategic About What Gets the Premium Treatment
Not every product needs 6 lifestyle shots. Focus your budget on:
- Hero products — your bestsellers and new launches
- Collection thumbnails — the image that represents each collection
- Homepage features — the products front and center on your store
Everything else? White background + one lifestyle shot is plenty.
Shopify-Specific Photo Tips
A few things that matter specifically for Shopify stores:
- Square images work best — Shopify themes default to square or 4:3 crops. Shoot with that in mind.
- File size matters — Shopify compresses images, but uploading a 15MB TIFF is going to slow your page. Aim for high-quality JPEGs under 2MB.
- Alt text is free SEO — describe the product and scene in every image's alt text. Shopify makes this easy in the product editor.
- Consistent aspect ratios — if one product image is square and the next is portrait, your collection page looks messy. Pick a ratio and stick with it.
The Bottom Line on Ecommerce Photos on a Budget
You don't need to choose between cheap-looking DIY and expensive professional shoots. The smart play for most Shopify sellers:
- Shoot clean product photos yourself — phone, window light, white background
- Use AI for the lifestyle images that actually drive conversions
- Save the professional photographer for your brand launch or hero campaign
Flyshot fits right in the middle — professional output at DIY prices. See how it compares to other tools, then check the studio to see what your products would look like, or view pricing to find the plan that fits your catalog size.